August 05, 2021
How to create an animated map of paper cut symbology
aka miscellaneous ffmpeg commands
884 words | 4-min read |
This blog quickly records down the steps of how to use ffmpeg for:
- Creating an animation from a sequence of pictures
- Reverse an animation
- Merge two parts of animation together
- Convert the animation from mp4 to other formats (GIF, WebP and WebM)
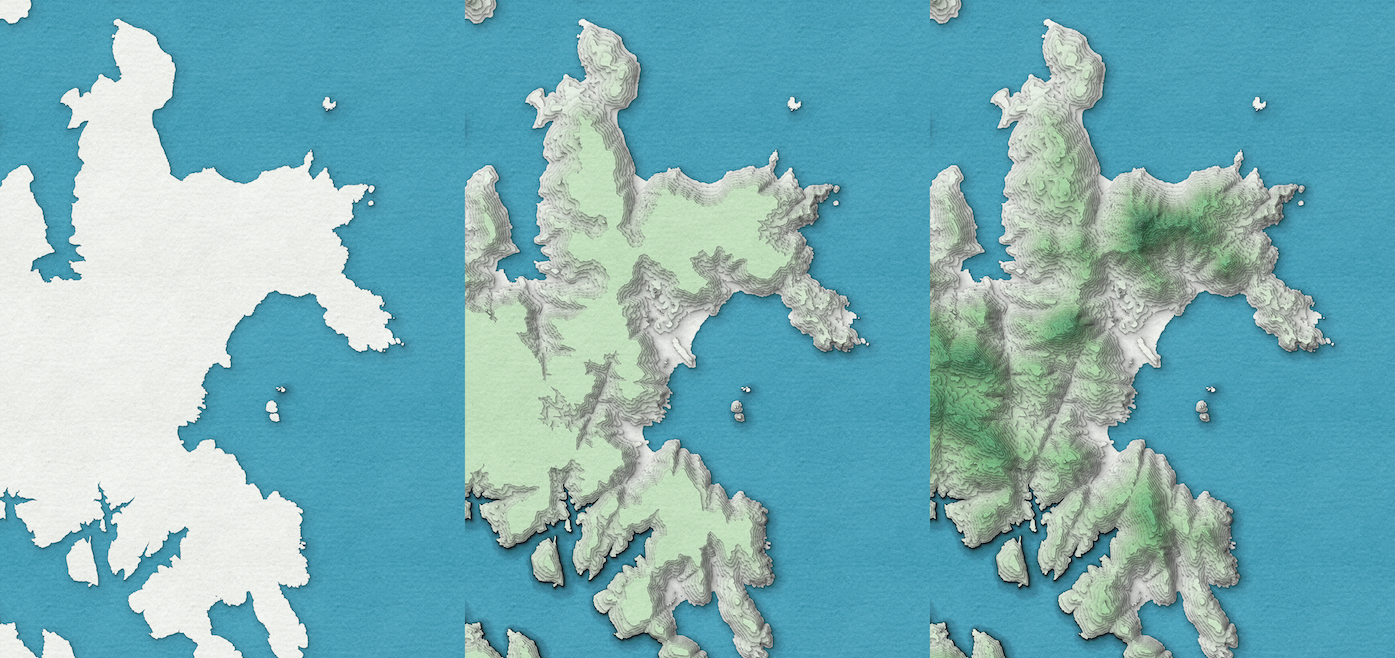
In ArcGIS Pro, when applying the paper cut effect to the feature class, Pro will render the symbology . This creates a “stacking effect” where the polygons are rendered one by one, from bottom to top. (see around 1:16 of John Nelson’s paper cut symbology introduction video and you will understand what the “stacking effect” looks like in Pro).
I find the stacking rendering animation itself looks marvellous. Therefore, why not recreate an animation of the stacking effect? I used ffmpeg, a Swiss Knife for creating and converting videos, to make the animation.
NOTE: ArcGIS Pro also provides animation functionality to create videos and export it to various video format directly in ArcPro. I use ffmpeg just because I want to have fun with the tool.
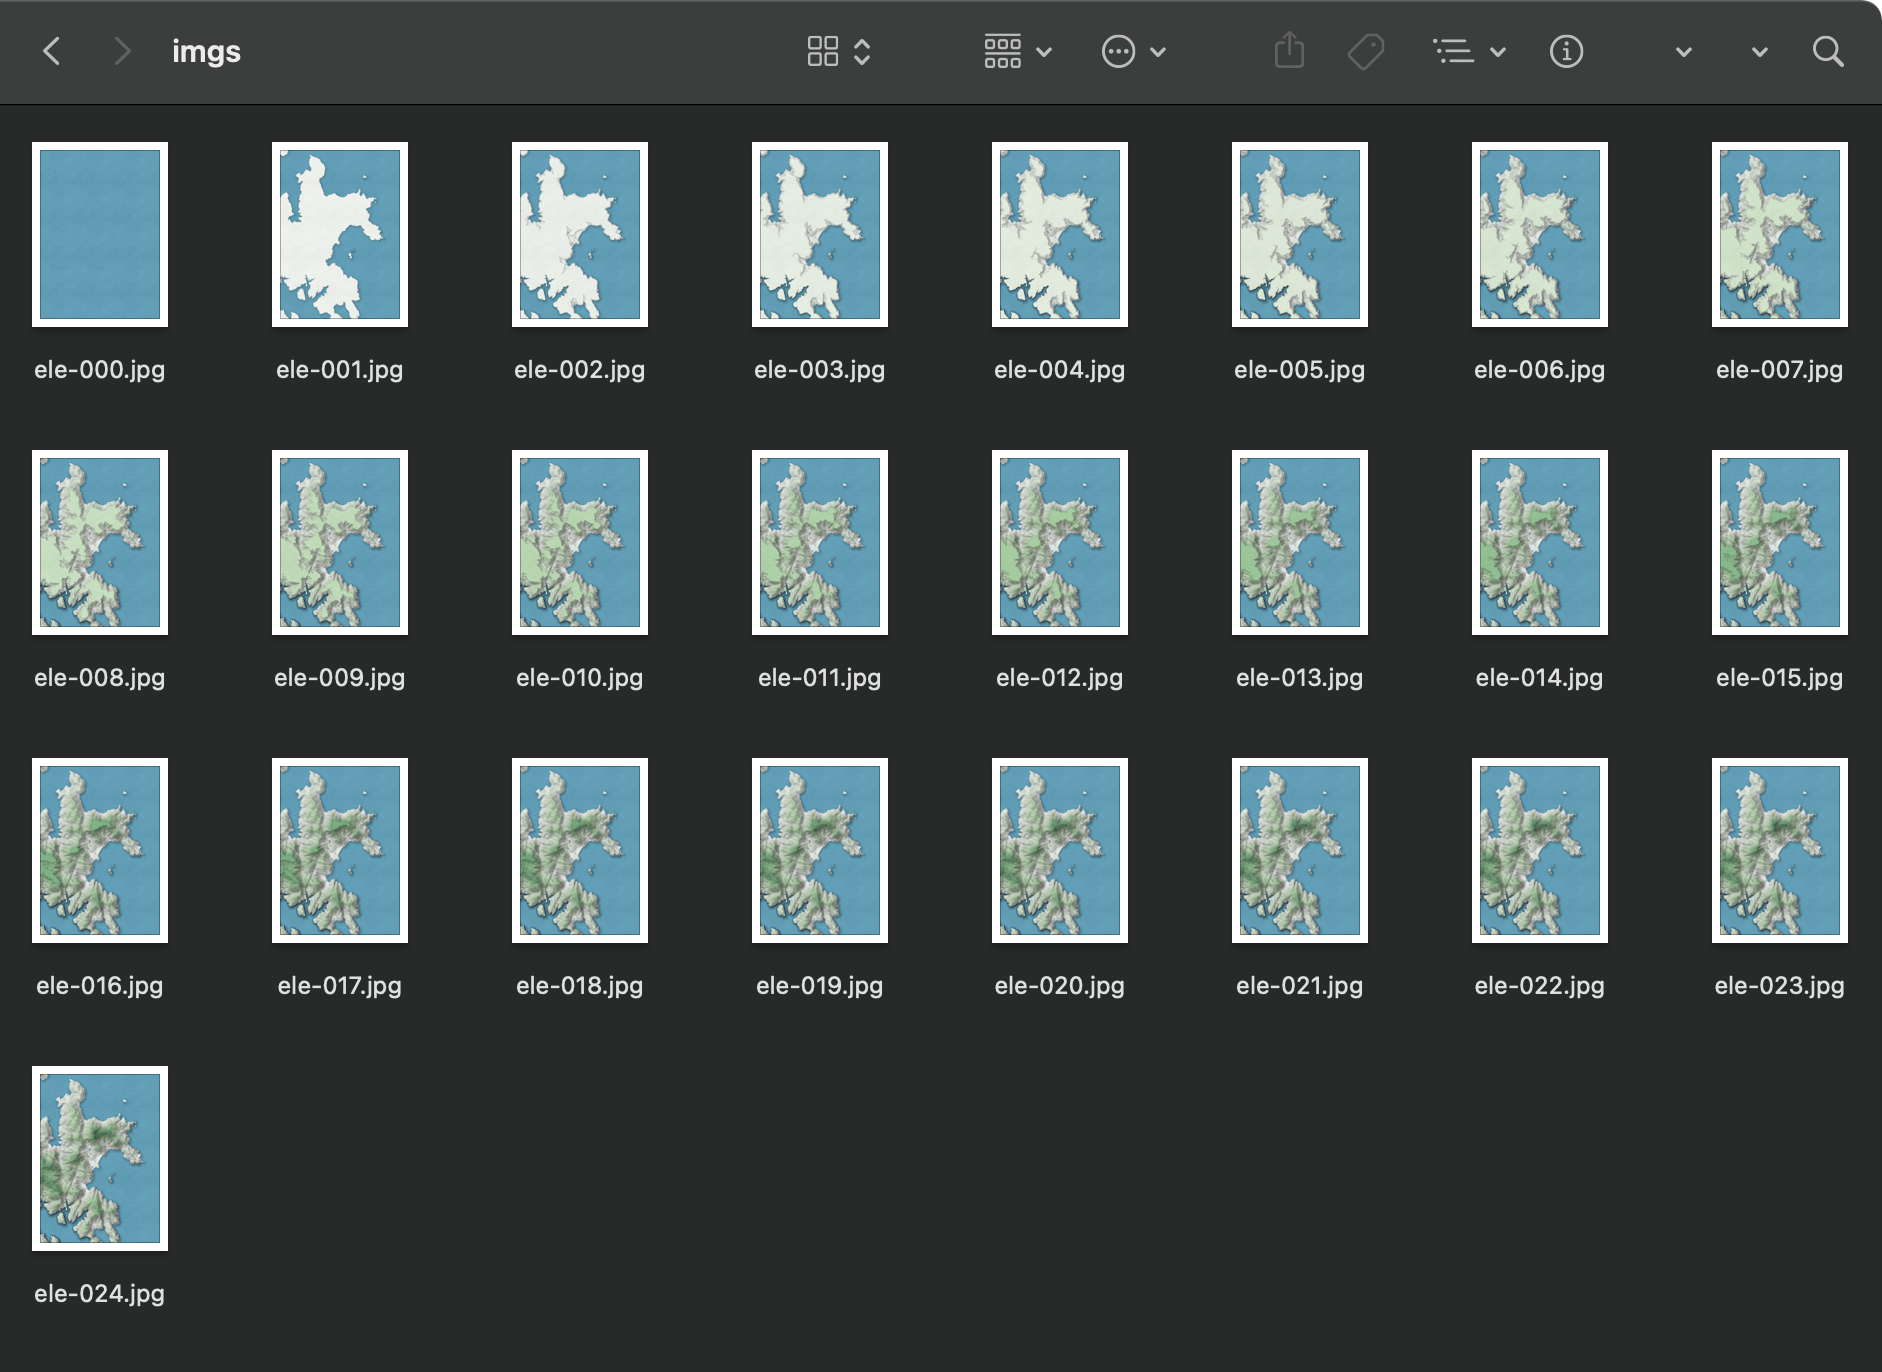
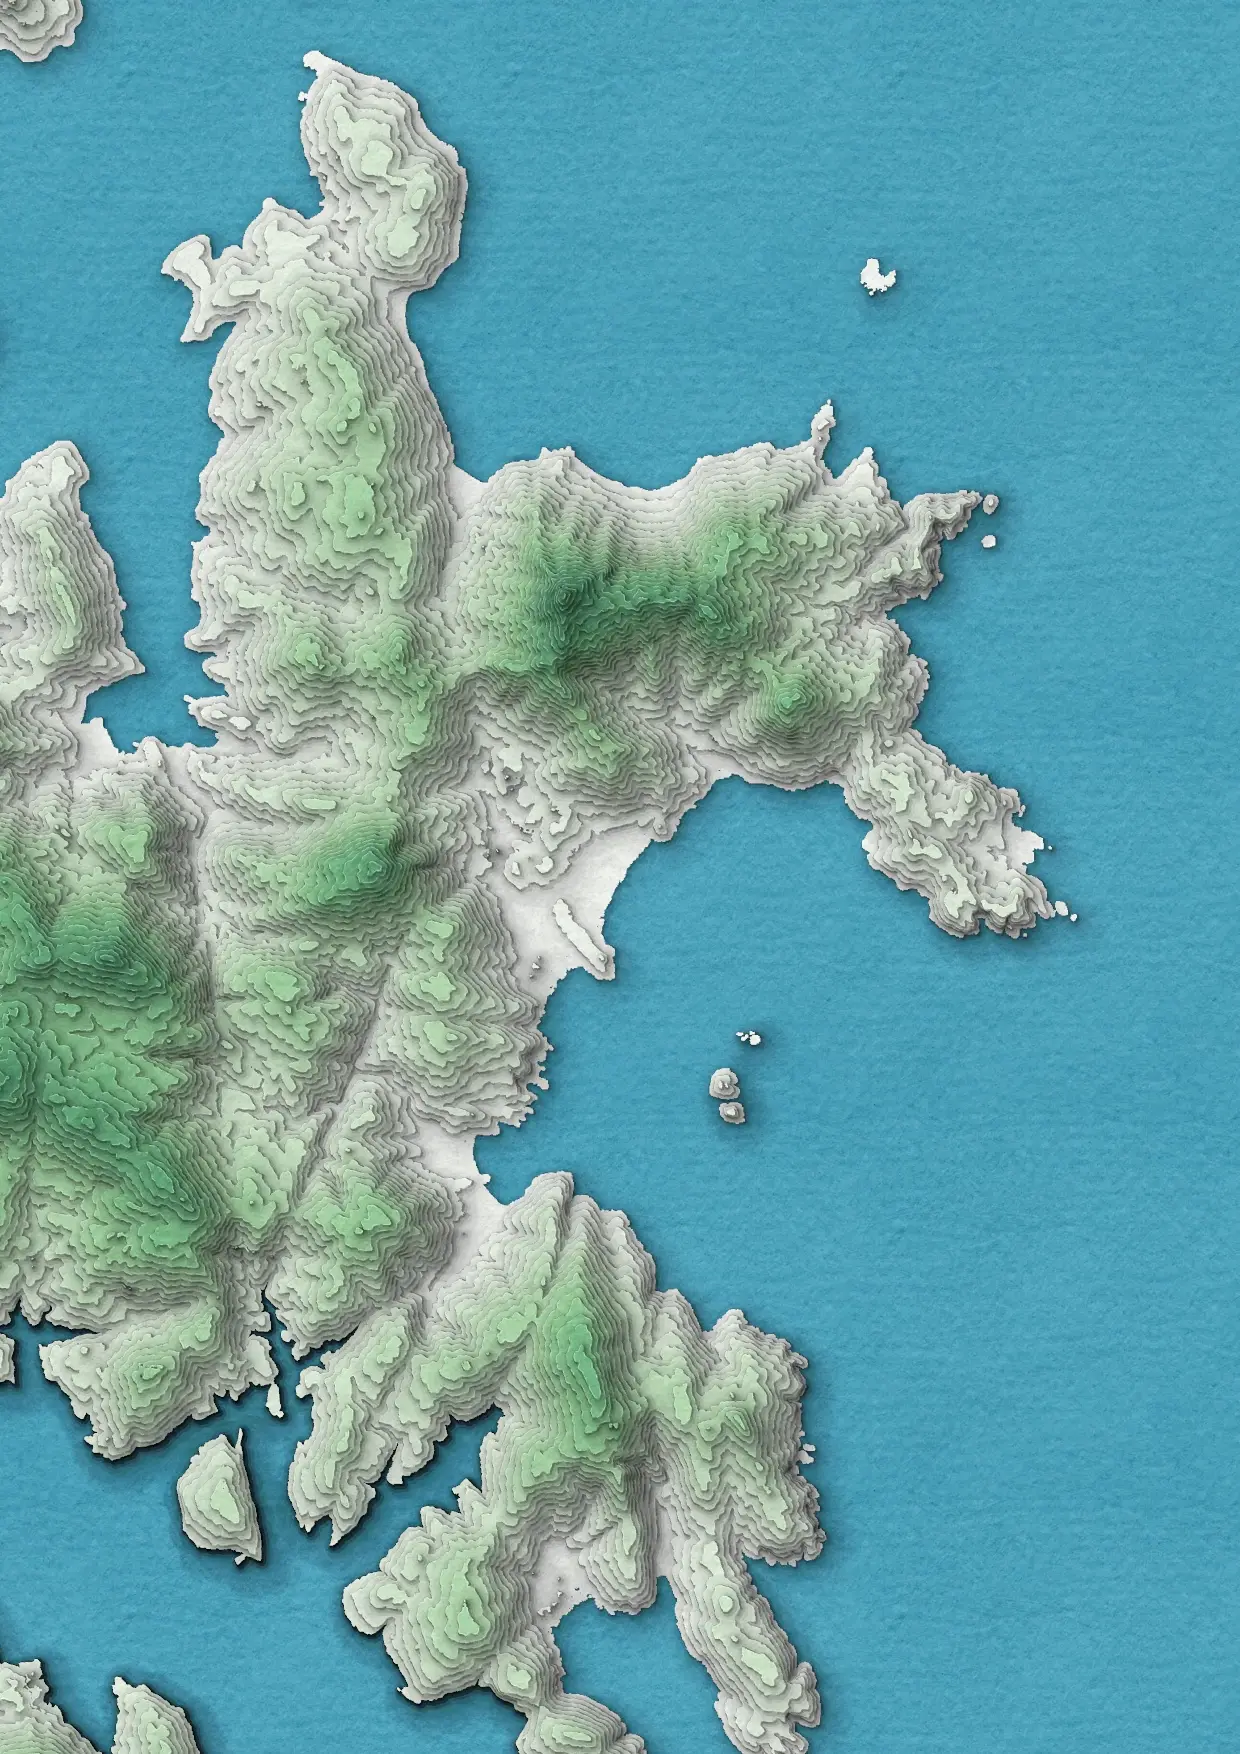
The source images
The paper cut map images are exported from ArcGIS Pro. I named them manually from 000, 001 to the last image (024).
A basic “stacking-up” animation
It is possible to create an animation of displaying the above images from 000 to 024 with ffmpeg:
ffmpeg -r 6 -f image2 -i ele-%03d.jpg -pix_fmt yuv420p stack-up.mp4
Here is my understanding of what each command does:
-r 6: frame rate of 6 fps (frames per second). Increase the number for a faster “piling up” effect, vice versa.image2 -i ele-%03d.jpg: iterate the images fromele-001.jpg,ele-002.jpg, …, to the image with largest number find in the folder.-pix_fmt yuv420p: In order to view the output mp4 in “dumb players” like quicktime, an additional argument of-pix_fmt yuv420pis required to translate the pixel format to QuickTime (and other media players)-compatible, see mentioned in ffmpeg documentation. I tried without adding this argument and QuickTime fails to play the output mp4stack-up.mp4: output file name. ffmpeg is smart enough to know the desired output format by just checking the extension of the output file name string.
And then we have a mp4 file showing the contour paper stacking up one by one.

Reverse the video
I also like to see the effect of “unstacking” the papers, where the contour polygons are removed one by one, from top to bottom. This is just reverse the video above.
Turns out ffmpeg is capable of reversing a video by providing a -vf reverse argument from this StackExchange question.
ffmpeg -i stack-up.mp4 -vf reverse unstack.mp4
Merge two videos
I can’t decide whether showing stacking up the papers or removing the papers is more attractive, so I decided to make a animation including both.
Merging two videos is (again) possible in ffmpeg. However, it is necessary to convert the mp4 to MPEG-2 TS files format first. Seems ffmpeg handles this video format better.
Convert the first part of video to ts format:
ffmpeg -i stack-up.mp4 -c copy -bsf:v h264_mp4toannexb -f mpegts stack-up.ts
Then the second one:
ffmpeg -i unstack.mp4 -c copy -bsf:v h264_mp4toannexb -f mpegts unstack.ts
Then it is possible for all merging matters (ffmpeg use the term “concatenate” for merging videos together):
ffmpeg -i "concat:stack-up.ts|unstack.ts" -c copy -bsf:a aac_adtstoasc stack-final.mp4
The most important step here is "concat:stack-up.ts|unstack.ts", where it merge multiple files together into a single video clip. In addition, it is possible to include more than 2 videos in the function. Just add the video in order (say, "concat:stack-up.ts|unstack.ts|part-3.ts|part-4.ts") and a long, long video will be generated.
And that’s how to create an all-in-one animation of stacking up and removing the contour papers.

If intermediate products are not needed, it is possible to pipe the above steps together like below.
mkfifo temp1 temp2
ffmpeg -y -i input1.mp4 -c copy -bsf:v h264_mp4toannexb -f mpegts temp1 2> /dev/null & \
ffmpeg -y -i input2.mp4 -c copy -bsf:v h264_mp4toannexb -f mpegts temp2 2> /dev/null & \
ffmpeg -f mpegts -i "concat:temp1|temp2" -c copy -bsf:a aac_adtstoasc output.mp4
Convert to other formats
Notice the output animation in the above processes are all in mp4 format? In general, adding mp4 files to a website means additional considerations for video compatibility. In fact, the animation shown above are not in mp4 format! I further convert them to WebP before writing this blog.
GIF
Converting mp4 to gif is extremely easy. Just provide the output gif name and ffmpeg will recognise the .gif file format is the desired output format.
ffmpeg -i stack-final.mp4 stack-final.gif
WebP
WebP is a newer animated format compared GIF, and holds a bunch of superior advantages compared to GIF.
For this stacking and unstacking map animation, the size of file in GIF format takes up 6.5 MB, while the one in WebP only takes 2.2 MB!
ffmpeg -i stack-final.mp4 stack-final.webp
WebM
webm format usually has a smaller file size compared to mp4.
ffmpeg -i test.mp4 -c:v libvpx -crf 15 -b:v 1M -c:a libvorbis test.webm
Bonus
The cover photo is created with the following imagemagick command. ;)
convert +append ele-001.jpg ele-008.jpg ele-024.jpg cover.jpg
References
https://video.stackexchange.com/questions/17738/how-to-use-ffmpeg-command-for-reverse-video